Okay, we'd planned to spend the week playtesting and tuning after creating the core content, which we did some of, but I started designing game assets and fell down a rabbit hole.
We knew one of the biggest costs to creating the game would be art and graphic design. Neither Josh nor I are artists. We knew we'd need to do some work up-front, people would want to know what the style would be if the Kickstarter campaign was going to be successful. Hell, maybe people care more about a beautiful looking game vs. a beautiful playing game?
So we scoured a few resources online on BGG and ConceptArt.org and corresponded with a few artists whose portfolios we liked to get quotes. No surprise, in retrospect, but great art ain't cheap. It was basically impossible to afford a professional designer/illustrator to create the hundreds of assets we'd planned for a polished game and maintain a Kickstarter goal of ~$15k. That goal was based on research on other board game projects that had: A) succeeded, B) were by first time designers and C) looked as polished as games we would find on a shelf in a game shop.
$15,000 KICKSTARTER BUDGET
We debated going with a bigger campaign to afford more art budget, but decided that we didn't want to increase the risk of not funding. We could always add more art assets if we exceed our goal.
So we went ahead with one of the artists we met on BGG, Hai Pham, who provided a very reasonable quote for the up-front concept sketches to build out a campaign and for the key character portraits in the final game. Which left all the graphic design work...
I had perhaps the most experience, between the two of us, with Photoshop and its ilk, occasionally needing to touch something basic for my day job. So I bit the bullet, got a Creative Cloud subscription and waded in.
100 hours of work later, I came up for air with a set of card layouts, a game board, tokens and a box. I won't bore you with all the false-starts and blind-alleys I took as I learned, but here's some advise if you're just starting out as I was:
- Buckle down and watch the tutorial videos and do the exercises. I thought I'd just pick it up by trying blind, and wasted lots of time doing things the hard way. You need to learn the keyboard shortcuts and where to find things in menus, and the tutorials are a good way to do that.
- Photoshop, Illustrator and InDesign are distinct tools for a reason. I started out thinking I could just do everything in Photoshop, which was a mistake. Each is good at certain aspects of the process: Photoshop for freehand elements, Illustrator for icons and such, InDesign for arranging art and text together. By the end, I spent probably 85% of my time using InDesign.
- Plan to iterate...a lot. I was worried about getting a printable card layout quickly, so I spent lots of hours on the first iteration of each design pulling in all our content. Then chucked it in the trash once I learned more and was able to make a better version. Instead, do a quick pass of one example of each element, then try to print it, then fix all the crap that didn't work. Rinse and repeat. By the 5-6th round you'll have developed an efficient workflow and then start importing all your content.
- Import content using data merge. It's important that as the game evolves, you can generate new cards efficiently. I started by just typing in all the text and it was a nightmare to locate each card and make spot changes as it evolved through playtesting. You should create one master source of game content, in our case a Google Docs sheet, then import from that.
Here's some samples of our current designs:
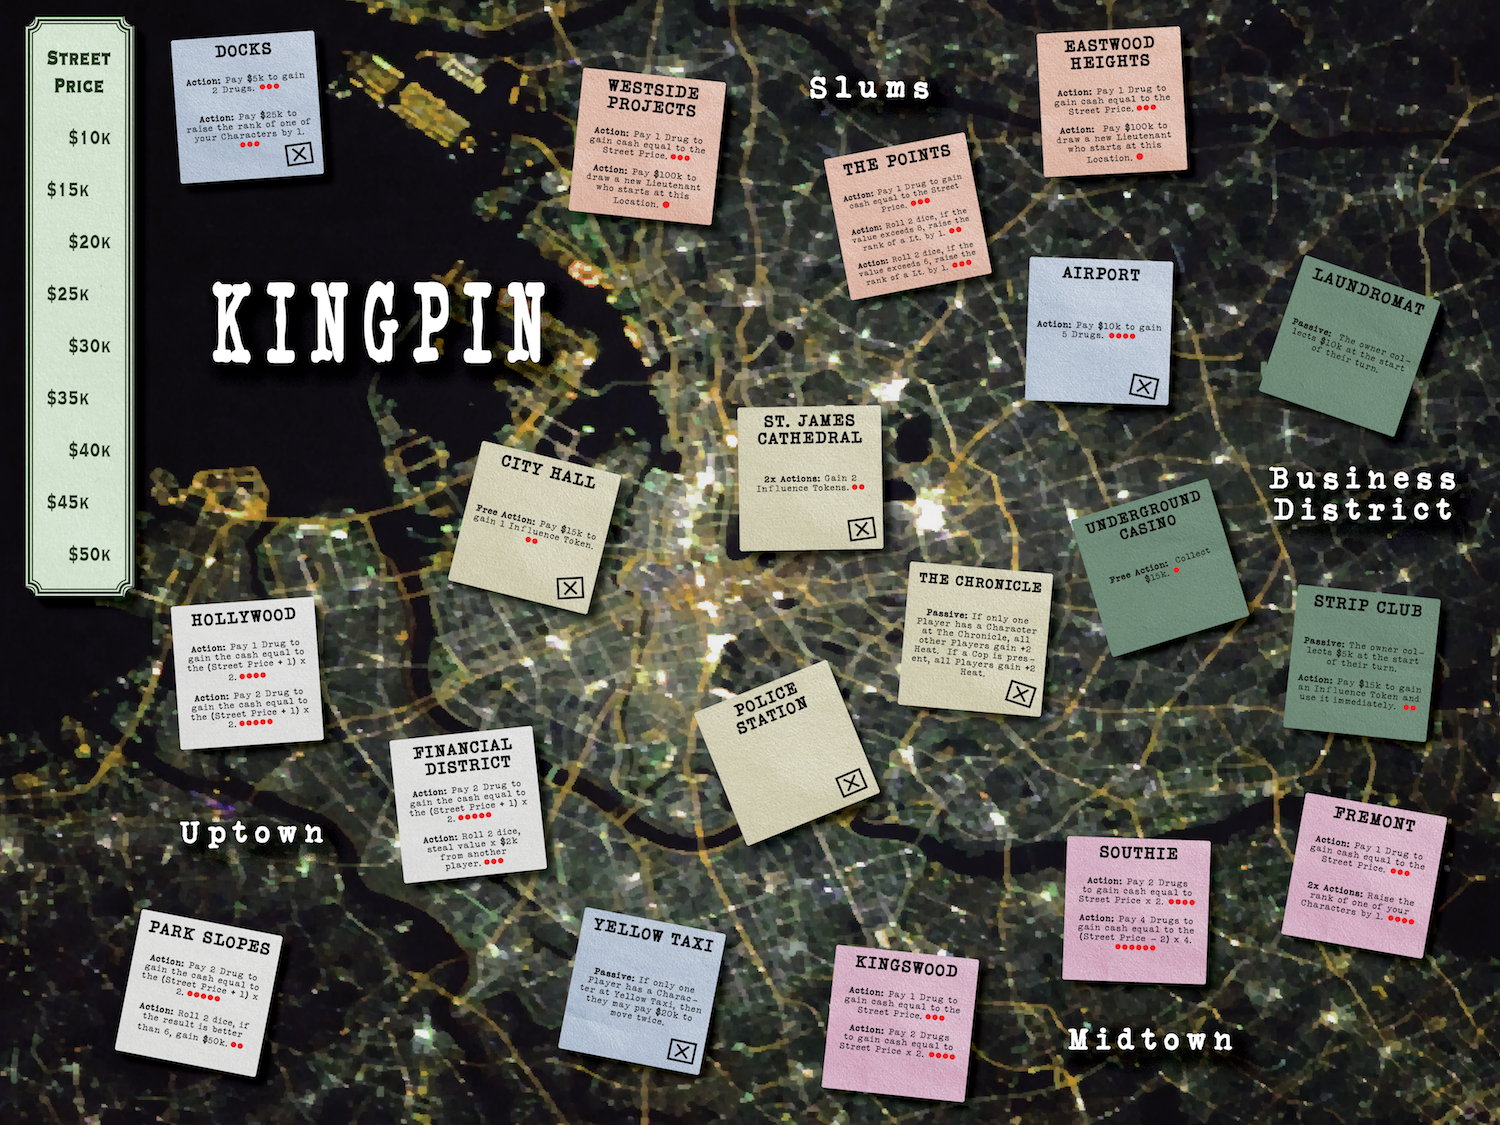
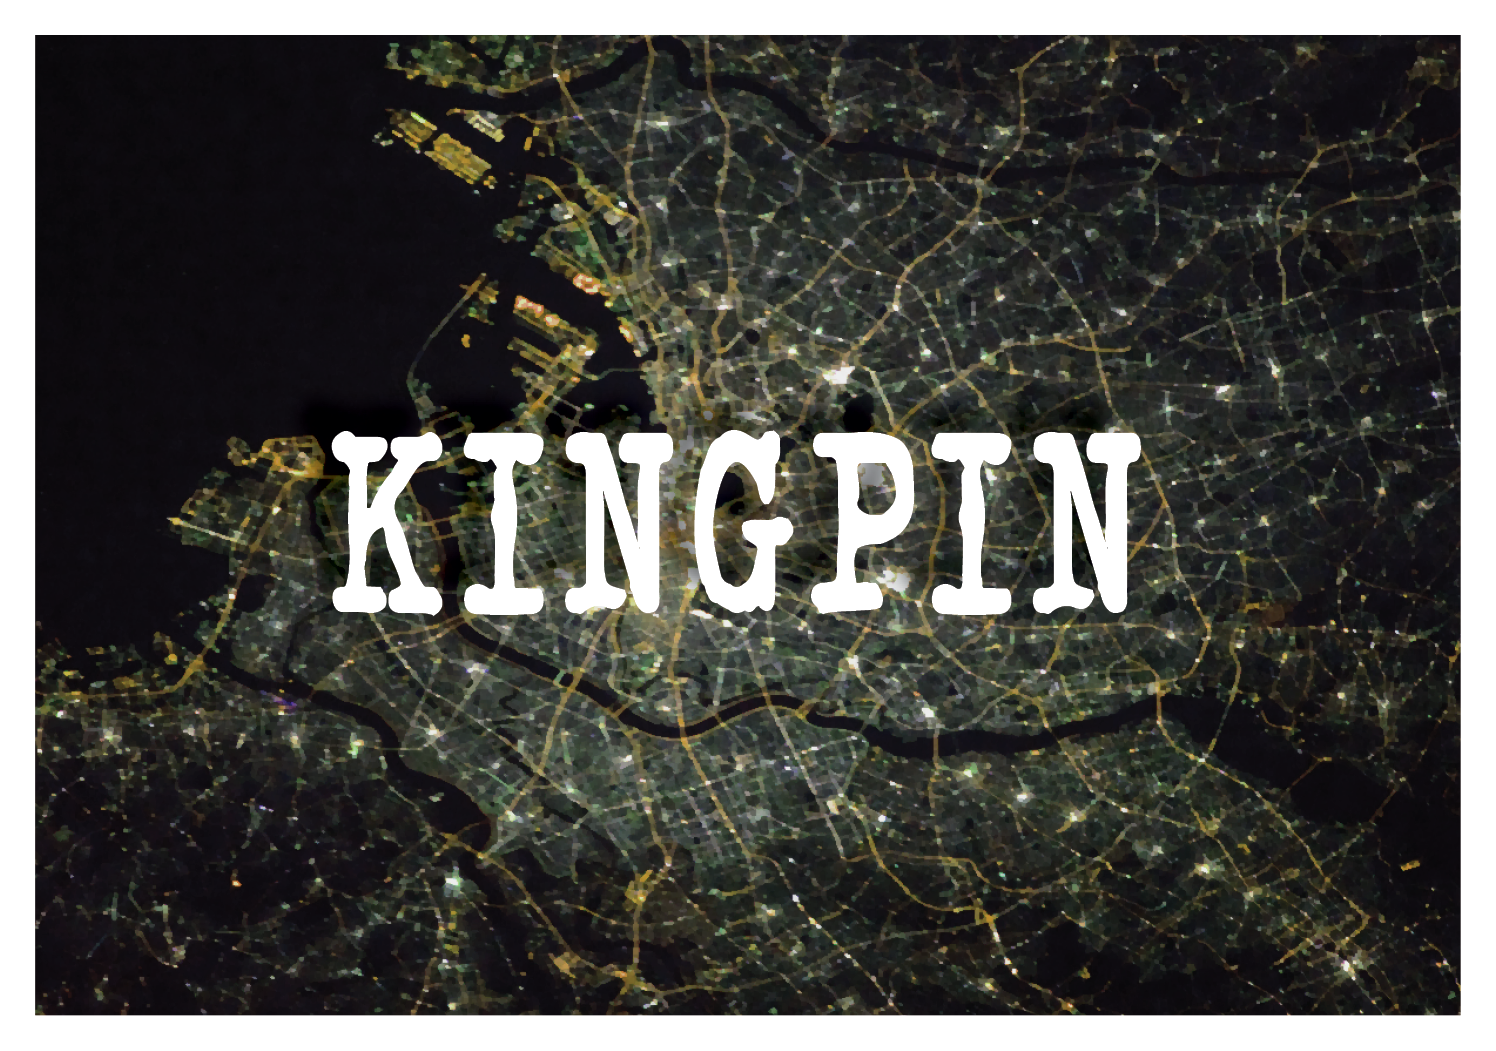

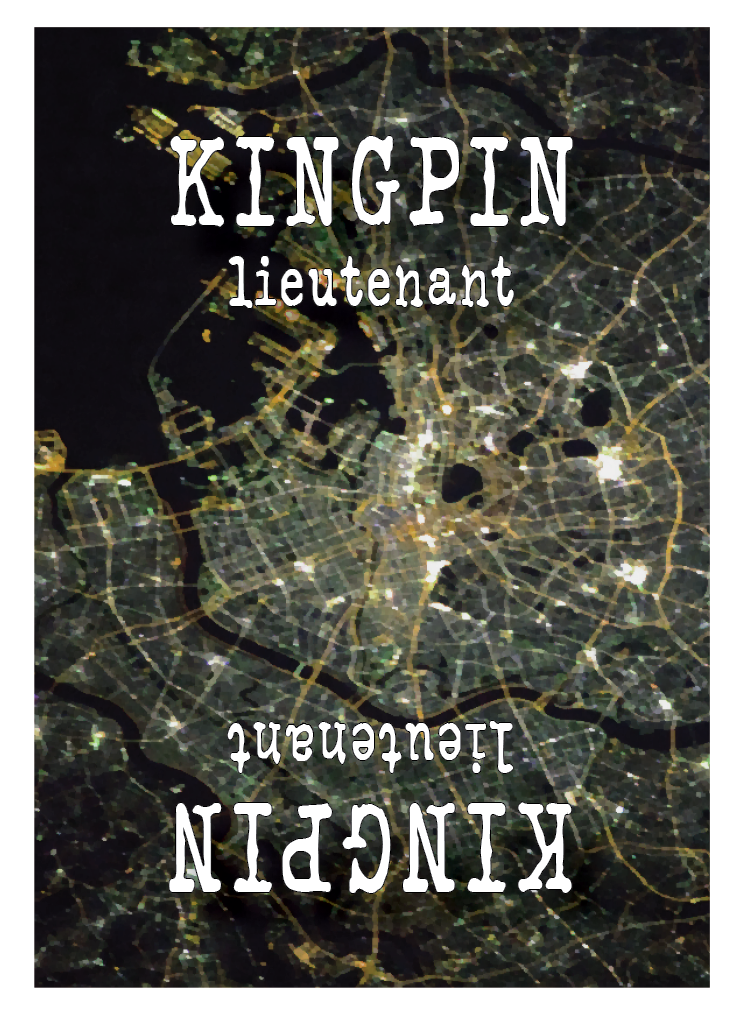
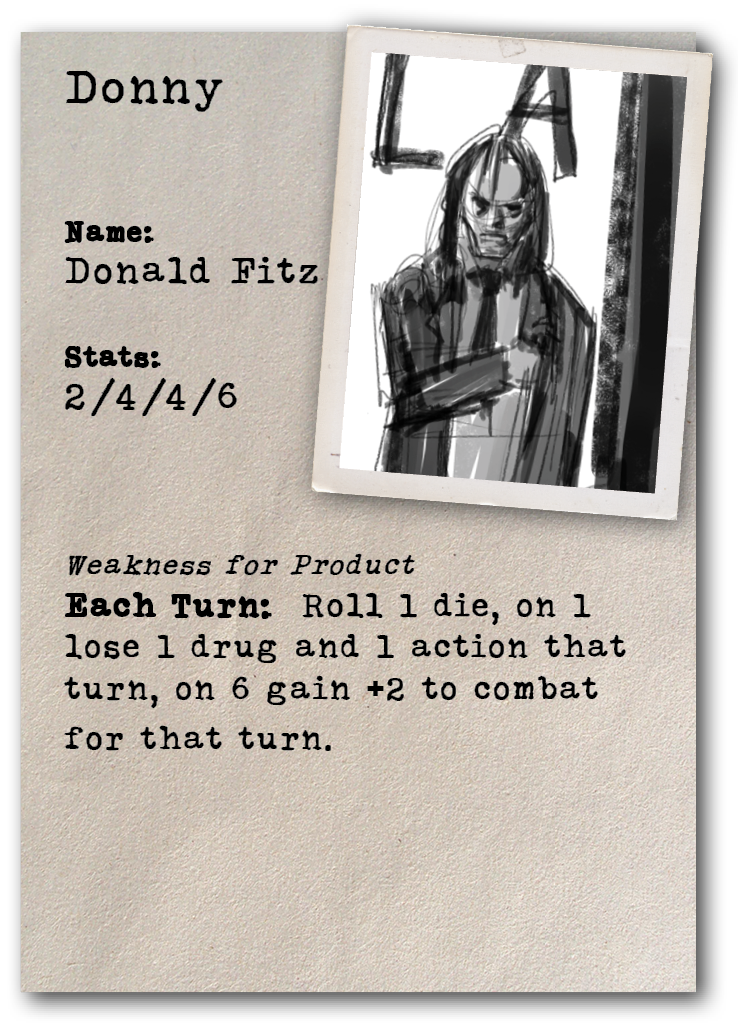
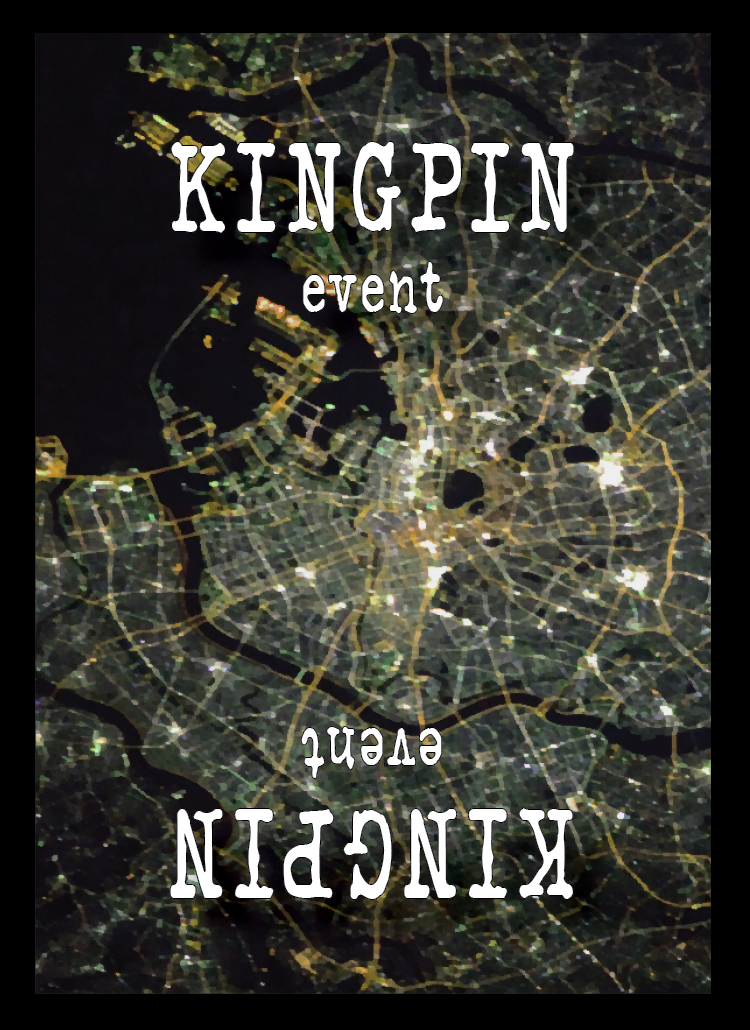
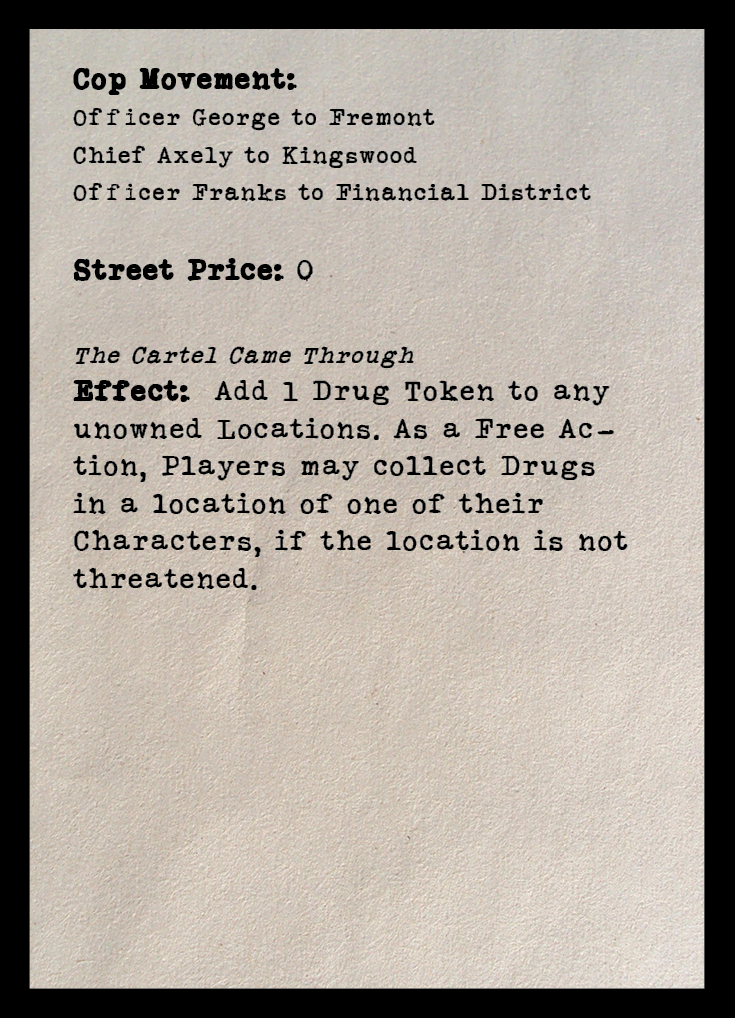
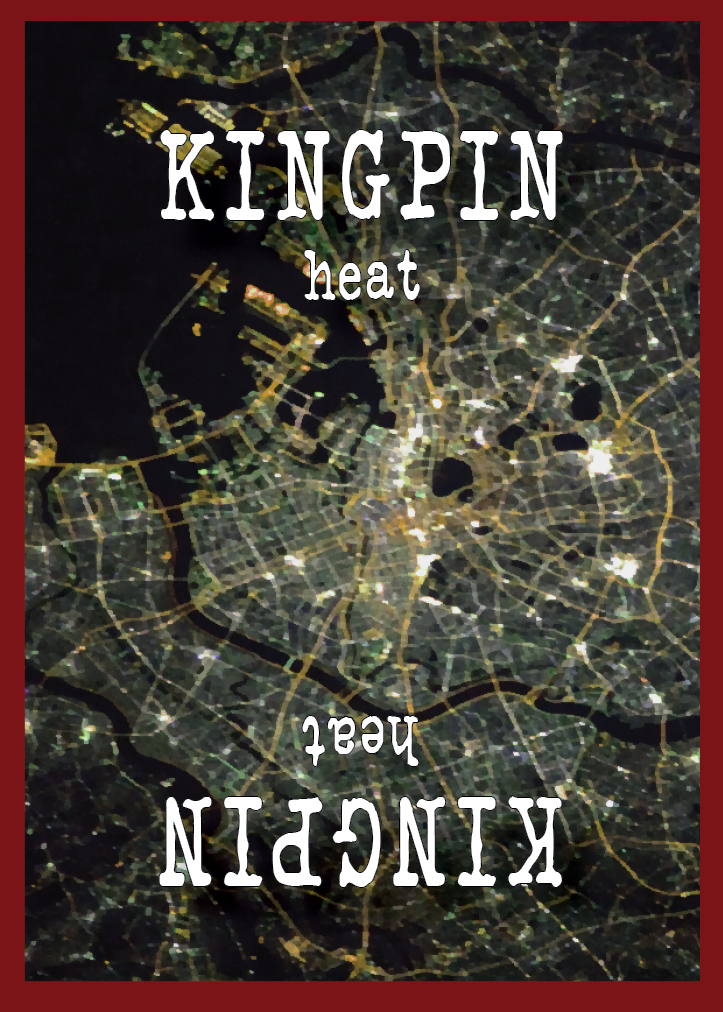
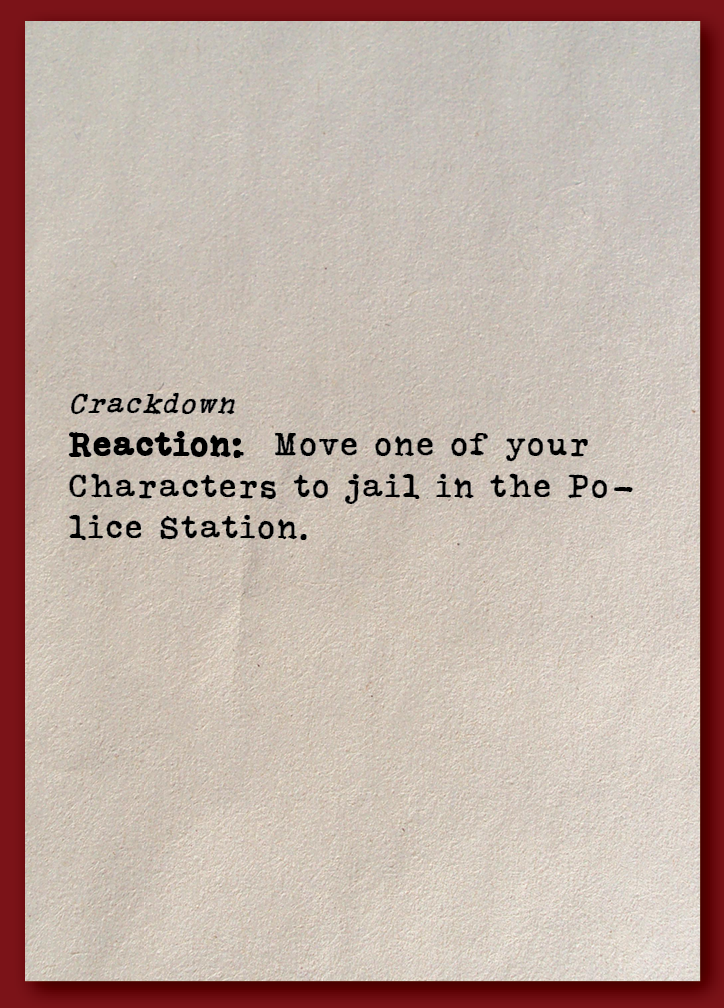
I'm pretty proud of what we came up with, though expect it to evolve quite a bit as we go along. Next week, we're back to playtesting and building a few game prototypes.
See you next week,
Bob.